Rhino 3D Rapid Prototyping And Mock Up Building Level 2
Published 9/2025
MP4 | Video: h264, 1920x1080 | Audio: AAC, 44.1 KHz
Language: English | Size: 10.38 GB | Duration: 7h 49m
Published 9/2025
MP4 | Video: h264, 1920x1080 | Audio: AAC, 44.1 KHz
Language: English | Size: 10.38 GB | Duration: 7h 49m
Learn to get your designs ready for prototyping
What you'll learn
Learn to prepare a 3D model ready for prototyping
Learn to use Rhino 3D proficiently
Level up from making surfaces for visualization to manufacturing parts
Learn how to create any design and make it ready for prototyping.
Requirements
Even though it s a Level 2 course user s who are familiar with Rhino s environment should be able to follow along
Description
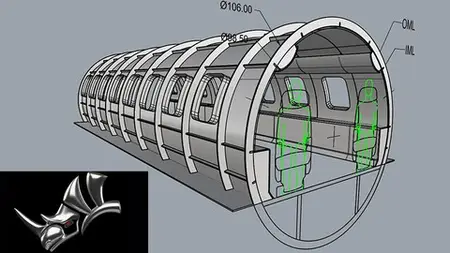
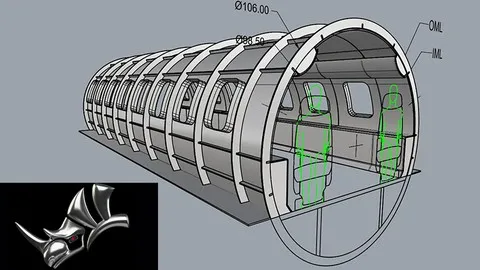
In these video lessons I will show students and professionals the skills needed to prepare clean, manufacturable, and optimized Rhino 3D models to use in full scale physical mock-ups as well as rapid prototyping processes ( 3D printing, CNC milling, laser cutting, and foam modeling). I will teach first off a hair dryer as a starting model, and show how I typically surface it and get it ready for prototyping. As we progress in the lessons I will show you how I import 2 case models using an IGES files, identify and repair corrupted surfaces and make sure you end up with a watertight volume ( also known as a closed polysurface in Rhino 3D ) before sending it off for prototyping. You will also be initiated in learning the basic principles of reverse engineering, how you can import an STL file and fix the imported meshes using the Rhino toolbar. I will also share with you on how I prepare a full scale aircraft cabin model in Rhino and the materials I typically use ( foamboards and plywood ) to build a full scale physical mockup. This course serves as a Level 2, meaning it is intended for intermediate level, however users with basic knowledge of the Rhino environment can benefit from it as well.
Overview
Section 1: Introduction
Lecture 1 Introduction
Section 2: 02 What are NURBS
Lecture 2 02 What are NURBS
Section 3: 03 Single Span vs Multi Span
Lecture 3 03 Single Span vs Multi Span
Section 4: 04 Terminologies
Lecture 4 04 Terminologies
Section 5: 05 Case Study 01 Hairdryer Part 1
Lecture 5 05 Case Study 01 Hairdryer Part 1
Section 6: 06 Case Study 01 Hairdryer Part 2
Lecture 6 06 Case Study 01 Hairdryer Part 2
Section 7: 07 Case Study 01 Hairdryer Part 3
Lecture 7 07 Case Study 01 Hairdryer Part 3
Section 8: 08 Case Study 01 Hairdryer Part 4
Lecture 8 08 Case Study 01 Hairdryer Part 4
Section 9: 09 Case Study 01 Hairdryer Part 5
Lecture 9 09 Case Study 01 Hairdryer Part 5
Section 10: 10 Case Study 01 Hairdryer Part 6
Lecture 10 10 Case Study 01 Hairdryer Part 6
Section 11: 11 Case Study 02 Importing and Fixing
Lecture 11 11 Case Study 02 Importing and Fixing
Section 12: 12 Case Study 03 Mockup Building Part 1
Lecture 12 12 Case Study 03 Mockup Building Part 1
Section 13: 13 Case Study 03 Mockup Building Part 2
Lecture 13 13 Case Study 03 Mockup Building Part 2
Section 14: 14 Case Study 03 Mockup Building Part 3
Lecture 14 14 Case Study 03 Mockup Building Part 3
Section 15: 15 Case Study 03 Mockup Building Part 4
Lecture 15 15 Case Study 03 Mockup Building Part 4
Section 16: 16 Case Study 03 Mockup Building Part 5
Lecture 16 16 Case Study 03 Mockup Building Part 5
Section 17: 17 Case Study 03 Mockup Building Part 6
Lecture 17 17 Case Study 03 Mockup Building Part 6
Lecture 0 18 Case Study 04 Reverse Engineering a Shoe
Section 18: 19 Case Study 05 Reverse Engineering a Toy Car
Lecture 18 19 Case Study 05 Reverse Engineering a Toy Car
Section 19: 20 Case Study 05 Reverse Engineering a Toy Car Par
Lecture 19 20 Case Study 05 Reverse Engineering a Toy Car Par
Industrial Designers, Architects, Engineers, Technicians, Students and Hobbyists.


