


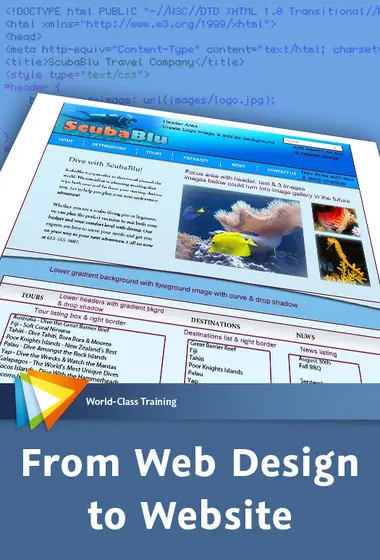
video2brain - From Web Design to Website
video2brain - From Web Design to Website | 2.58 GB
Duration: 6h 57m | Video: AVC (.mp4) 1024x576 | Audio: AAC 44.1KHz Mono
Genre: eLearning | Language: English | Level: Beginner
Duration: 6h 57m | Video: AVC (.mp4) 1024x576 | Audio: AAC 44.1KHz Mono
Genre: eLearning | Language: English | Level: Beginner
Bridge the Gap Between Graphic Design and the Web
Sometimes the most difficult part of creating a website is a step that is often overlooked: converting a graphic design into HTML/CSS files to be used on the web. In this workshop, expert web developer and trainer Candyce Mairs shows you how use a design created in Photoshop or Photoshop Elements as the basis for a website created with Dreamweaver. You’ll learn how to “slice” a graphic design for conversion, optimize and export your images for the web, and plan how you are going to organize your website. Then, as the course moves into Dreamweaver, you’ll use HTML and CSS to create web pages, add content, and format and position that content. Finally, you’ll see how to test your pages in a variety of browsers to make sure you get the best results.
This course walks you through every step in the process of converting a static graphic design into a living, breathing website.
Web Page Design Mockup
If you want to convert a graphic design into a web page, there are some steps you can take to bridge the gap between the two. In this chapter you’ll get the background information you need and learn the initial steps you can take simplify the process, such creating as wireframes and style guides. We’ll also take a look at the design that we’ll be turning into a web page in this course.
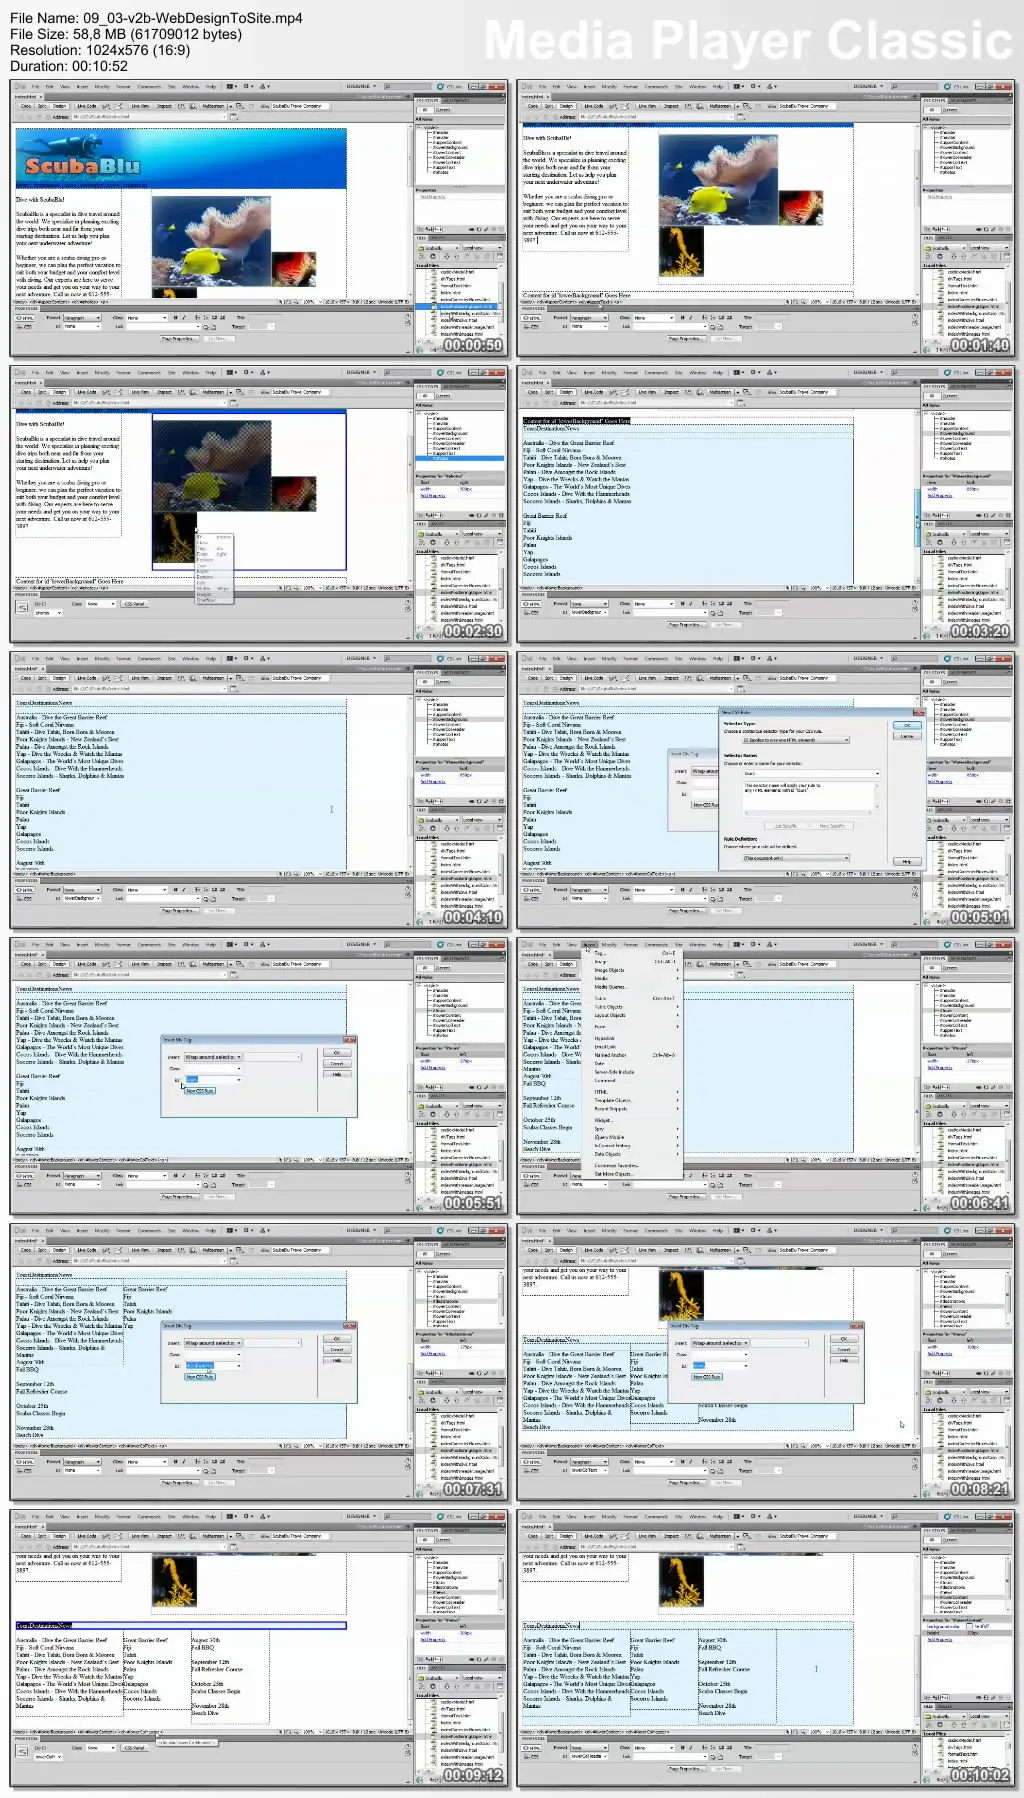
Slicing
Slicing is a very important step in the transition process from graphic design to web design. In this chapter you’ll learn how to slice using either Photoshop or Photoshop Elements and why this is a necessary step in the conversion process. You’ll also learn how to use the results of the slicing when creating the web page.
Optimizing Images
Every image that goes onto a web page should be optimized to reduce the file size, helping the page to load quickly. This chapter looks at the various image formats for the web and how to decide which format to use for your images. You’ll also learn how to use Photoshop or Photoshop Elements to optimize images.
Planning Page Layout
It is very important to look over your graphic design and plan how you are going to set up the web page using CSS. This chapter covers looking at your design in order to plan the coding needed, determine what fonts can be used, and document these decisions before moving on to create the web page.
Exporting Images
Once the design conversion has been documented, the next step is to export the images needed for the web page. This chapter shows you how to move your images out of the graphic design and optimize them for use on the web page.
Getting Organized
This chapter will familiarize you with Dreamweaver and its interface. You’ll learn how to create a root folder, define a local site, add images to a web page, and more.
Understanding CSS
Cascading Style Sheets (CSS) can be used to both format and position the content of web pages. This chapter gives you the background you need to work with CSS to position page content and style the text on the web page. You’ll learn how HTML and CSS can work together to give you full control of your web page's formatting and positioning.
Building the Web Page
Now that all the planning has been done, it is time to begin building the web page. This chapter covers adding text and images to the web page while setting up the page to correctly position content based on the graphic design.
Customizing Page Structure with CSS
Once the content has been added to the web page, you’ll need to create the column structure with HTML and CSS. In this chapter you’ll learn how to reposition and fine-tune page content using the CSS box model in order to control the web page's content and styles.
Creating the Look of the Web Page with CSS Properties
This chapter describes how to fine-tune the web page by adding CSS properties to give it the same look as the graphic design. You’ll learn how to create a font stack in Dreamweaver to handle fonts on the page that may not be on the user’s machine and add CSS background images and colors, along with positioning properties, to place sections of the web page where you want them in order to match the graphic design.
Adding New CSS3 Properties
CSS3, the latest version of CSS, includes additional properties that can assist you in reproducing the look of a graphic design on a web page. In this chapter you’ll learn how to create drop-shadows and gradients on web pages without having to use images that can increase the file size. You’ll also learn how browsers handle these new properties and how to determine if your browsers can support them.
Testing the Design
Not all the browsers used to display web pages are alike. In this chapter you’ll learn how to preview web pages in Dreamweaver to make sure that they work well in different browsers. Once that has been dealt with, you’ll learn how to add the final touch to the lower portion of the web page by adding a design between columns.
video2brain - From Web Design to Website
No mirrors below please.